In the realm of smartphone upkeep, a Guide to replacing iPhone screen at home provides essential steps for DIY enthusiasts. Integrating these instructions with computer repair skills can transform your approach to iPhone maintenance. Mastering the screen replacement process at home allows for precise and efficient repairs, highlighting the value of understanding both electronic components and practical repair techniques.
Key Takeaways
- Applying knowledge of electronics and tools from computer repair.
- Understanding internal components aids in safe disassembly.
- Familiarity with intricate parts leads to efficient screen replacement.
- Ability to troubleshoot and problem-solve during the repair process.
- Confidence in handling delicate devices for successful screen replacements.
Understanding the Basics
Understanding the basics of DIY iPhone screen replacements is vital for successfully completing the repair process at home. This includes knowing how to safely remove the damaged screen, disconnecting the internal components, and properly installing the new screen. Familiarizing oneself with the specific model of the iPhone being repaired is key, as different models may have varying repair processes. Following detailed guides or tutorials can aid in mastering these fundamentals.
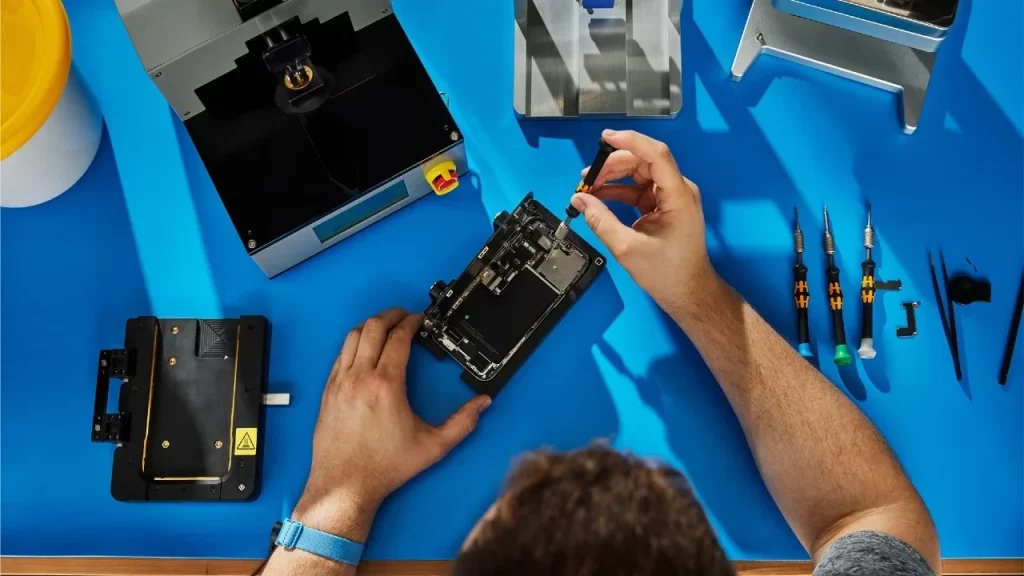
Tools Needed for the Job
When starting a DIY iPhone screen replacement, ensuring you have the necessary tools at your disposal is essential for a successful repair process. The tools needed typically include a small Phillips screwdriver, a pentalobe screwdriver, a suction cup, a plastic spudger, tweezers, and a replacement screen. Having these tools ready will help you efficiently disassemble and reassemble your iPhone without causing damage.
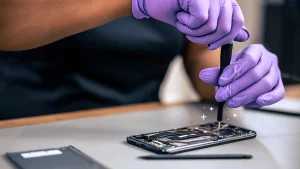
Step-by-Step Screen Replacement Guide
For a successful DIY iPhone screen replacement, meticulous attention to detail and precision in each step of the process is essential. Begin by powering off the device and removing the screws at the bottom. Gently lift the screen using a suction cup and carefully disconnect the cables. Proceed to remove the damaged screen and replace it with the new one, ensuring all connections are secure before reassembling the device.
Common Mistakes to Avoid
To guarantee a successful DIY iPhone screen replacement, it is imperative to be aware of common mistakes that can hinder the process and potentially damage the device. Some common errors to avoid include applying too much pressure on the screen, not securing all screws properly, neglecting to disconnect the battery before starting the replacement, and overlooking the importance of using the correct tools for the job.
Benefits of DIY Screen Replacement
Undertaking a DIY iPhone screen replacement presents numerous advantages for individuals equipped with the necessary computer repair skills and tools. DIY screen replacement allows for cost savings compared to professional services. It provides a sense of accomplishment and empowerment to fix one’s device. Additionally, it offers the flexibility to choose the quality of replacement parts and the convenience of completing the repair at home.
Frequently Asked Questions
Can I Use Regular Household Tools for Iphone Screen Replacement?
For iPhone screen replacement, regular household tools may not be sufficient due to the precision and specialized tools required. Investing in a proper toolkit designed for electronic repairs guarantees successful and efficient screen replacements, minimizing the risk of damage to the device.
Is It Safe to Replace My Iphone Screen at Home?
When considering iPhone screen replacement at home, safety is paramount. With proper guidance, tools, and precautions, DIY screen replacement can be safe. Follow step-by-step instructions meticulously and exercise caution to prevent damage or injury.
How Long Does It Take to Replace an Iphone Screen?
Replacing an iPhone screen typically takes around 30-60 minutes. Factors such as familiarity with the process, tools used, and level of precision can affect this timing. Follow a detailed guide and proceed with caution for best results.
Can I Reuse the Adhesive Strips When Replacing the Screen?
When replacing an iPhone screen, it is not recommended to reuse adhesive strips. Fresh strips guarantee proper adhesion and seal, maintaining the device’s integrity. Reusing strips may compromise the screen’s stability and lead to potential issues.
What Should I Do if My Iphone Screen Doesn’t Work After Replacement?
If your iPhone screen doesn’t work after replacement, first make sure all connections are secure. Try restarting the device and performing a hard reset. If issues persist, seek professional help to diagnose and resolve the problem effectively.
Conclusion
To sum up, utilizing computer repair skills for DIY iPhone screen replacements offers numerous advantages, including cost savings, personal satisfaction, and the development of valuable technical abilities. By understanding the basics, using the necessary tools, following a step-by-step guide, and avoiding common mistakes, individuals can successfully replace their iPhone screens with confidence. This hands-on approach not only saves money but also provides a sense of accomplishment and empowerment in handling electronic repairs.
Also Read: Alleviating Muscle Numbness for Computer Enthusiasts